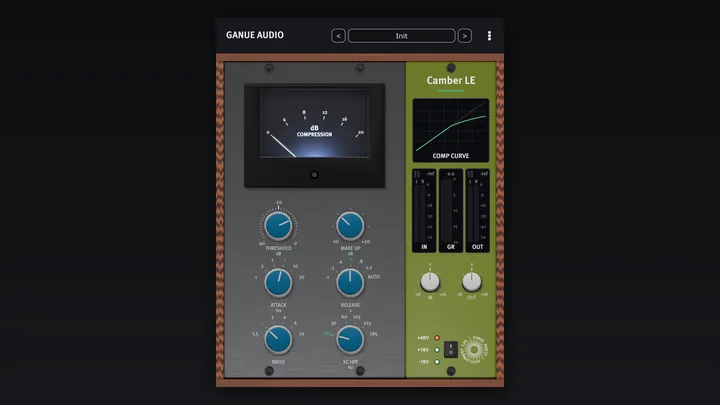
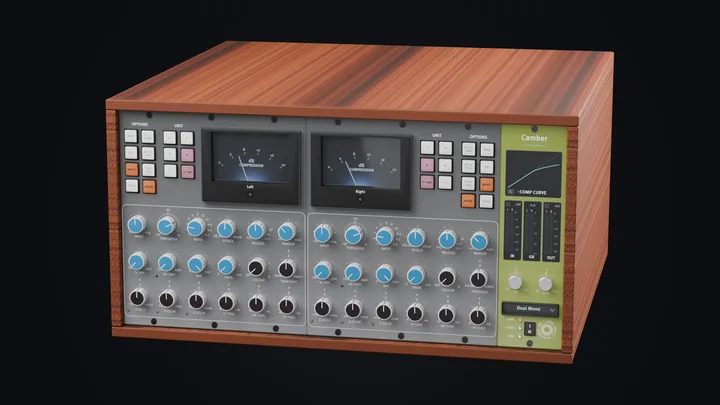
Mix Bus Compression: A Five-Step Starting Point
Set up a bus compressor in five steps: default, threshold, attack, release, sidechain filter. With the real time constants behind each dial position.
A bus compressor has a small job. It is not there to fix a mix or to make it loud. It is there to make a group of tracks move together by a few dB, so the mix reads as one performance instead of a stack of parts.
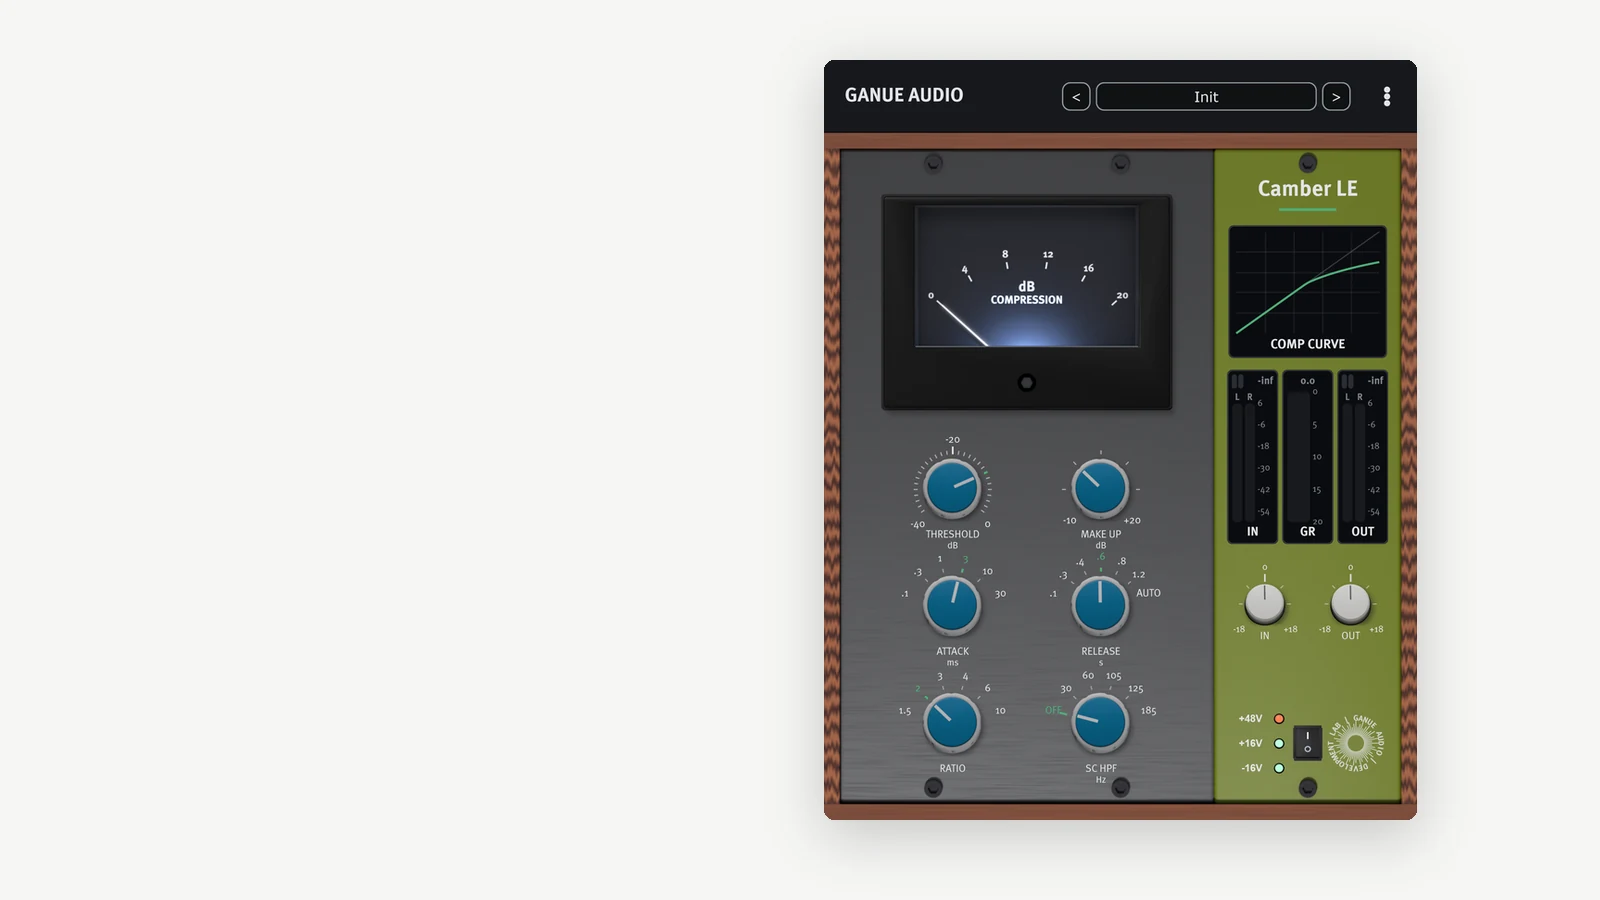
Because the job is small, the settings are small too, and it is easy to do too much. This recipe gives you a repeatable starting point in five steps. The examples use Camber LE, our free console-style bus compressor, because its dials are stepped and every position is documented. The method works on any bus compressor with the same six controls.
Before you start
Put the compressor on the bus while the mix is still in progress, not after it is finished. A compressor changes the balance between loud and quiet elements. If you add it at the end, you will re-balance the mix around it anyway.
Leave headroom. If the bus is already close to full scale, lower the tracks feeding it instead of chasing levels inside the compressor.
Step 1: start from a gentle default
Begin here:
| Control | Setting |
|---|---|
| THRESHOLD | -10 dB |
| RATIO | 2 |
| ATTACK | 3 |
| RELEASE | .6 |
| MAKE UP | 0 dB |
| SC HPF | OFF |
This is the default state of Camber LE, so on that plug-in step 1 is simply "insert it".
A low ratio is the right place to begin on a full mix. In round numbers, at a ratio of 2 a signal that goes 4 dB over the threshold comes out about 2 dB over. Ratios of 3 and 4 are a firm bus setting. Ratios of 6 and 10 are heavy compression and belong on drum buses and effects more than on a whole mix.
Step 2: lower the threshold to 2 to 4 dB of gain reduction
Play the loudest section. Lower THRESHOLD until the meter shows 2 to 4 dB of gain reduction on the loud phrases and close to none in the quiet ones.
If the needle never returns toward zero, the threshold is too low: the compressor is acting as a volume control and you have lost the movement you put it there for.
Step 3: choose the attack by listening to the drums
Attack decides how much of each transient gets through before the gain comes down.
- Fast (.1, .3): the compressor catches the hit itself. More control, less punch. The mix can sound smaller.
- Slow (10, 30): the front edge of the kick and snare passes, then the compressor closes on the body. More punch.
Start at 3 or 10. Solo nothing. Listen to the snare inside the full mix and pick the position where it still has its front edge.
One detail that helps when you compare tools: the number printed on a stepped dial is a panel marking, not a stopwatch time. On Camber LE the manual lists the time constant behind every position. A time constant is the time the gain needs to cover about two thirds of the distance to its target; the gain settles almost completely in four to five time constants.
| ATTACK dial | Time constant |
|---|---|
| .1 | 0.175 ms |
| .3 | 0.283 ms |
| 1 | 0.705 ms |
| 3 | 2.0 ms |
| 10 | 7.2 ms |
| 30 | 21.4 ms |
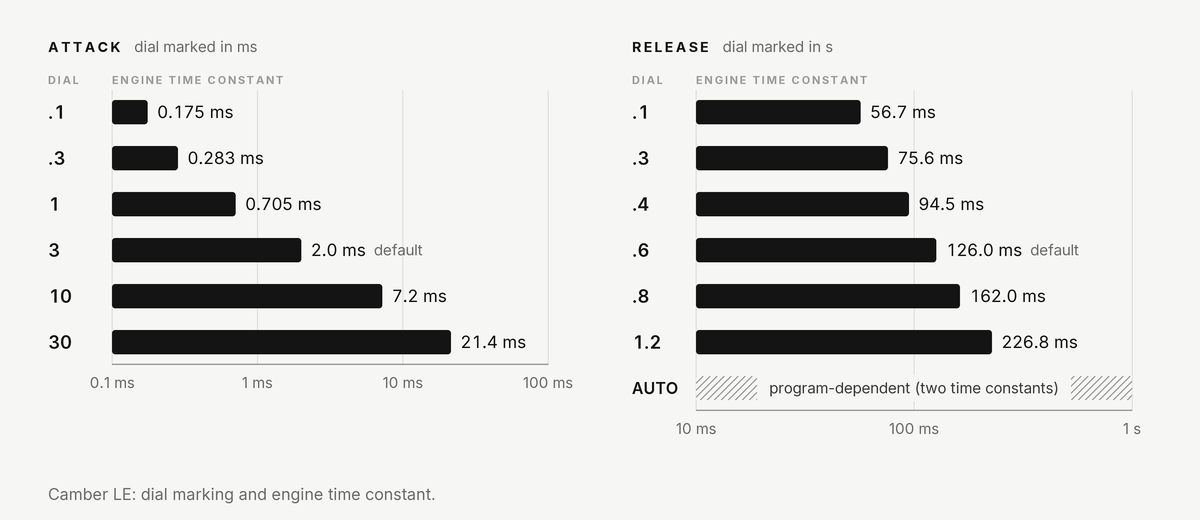
So the two fastest positions sit close together (0.175 against 0.283 ms), and from 1 upward each step roughly triples the time. The attack values are nominal at a reference depth: the effective attack scales somewhat with how deep the compressor is working.
Step 4: set the release, and try AUTO first
Release decides how quickly the gain comes back.
- Short (.1, .3): fast recovery. The mix sounds livelier and louder, and it can pump on bass-heavy material.
- Long (.8, 1.2): the gain stays down longer. Smoother, more held together, less lively.
| RELEASE dial | Time constant |
|---|---|
| .1 | 56.7 ms |
| .3 | 75.6 ms |
| .4 | 94.5 ms |
| .6 | 126.0 ms |
| .8 | 162.0 ms |
| 1.2 | 226.8 ms |
On a full mix, try AUTO before anything else. On Camber LE, AUTO uses two time constants together: a fast one after transients and a slow one during sustained passages. A single fixed release is always a compromise between those two cases, which is why a program-dependent release is a common first choice on a mix bus.
If you prefer a fixed time, a rough guide is to watch the needle: it should move back toward zero in time with the song, not lag behind the beat and not flutter on every hit.
Step 5: keep the low end out of the detector
A kick drum or a bass note carries more energy than anything else in the mix. With no filtering, the compressor reacts mostly to them, and the whole mix dips on every kick.
A sidechain high-pass filter fixes this. It filters only the signal the detector listens to. The audio itself is not filtered.
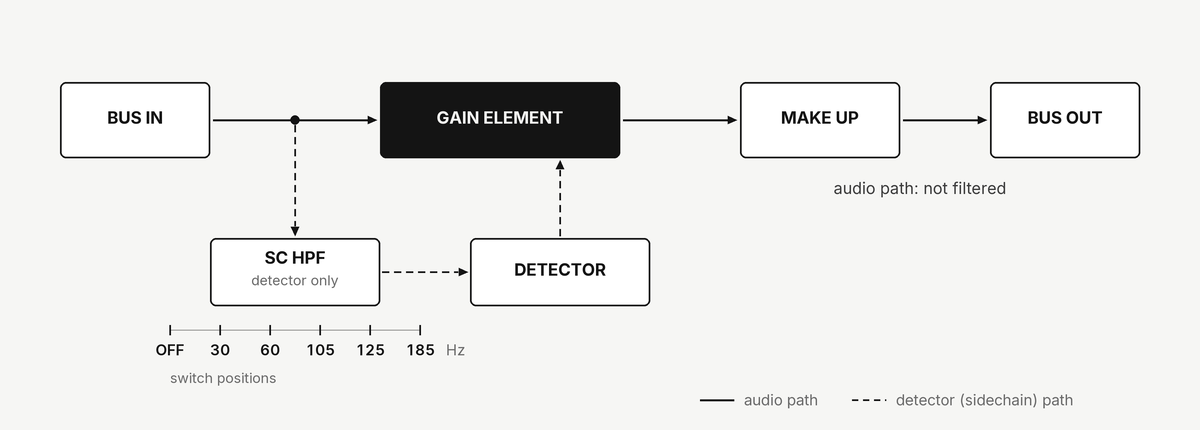
On Camber LE the positions are OFF, 30, 60, 105, 125 and 185 Hz. Set it to 60 or 105 Hz to stop kick and bass from pumping the mix. The higher positions, 125 and 185, make the compressor listen more to the mids and highs. After changing the filter, check the gain reduction again: with less low end in the detector, the same threshold produces less reduction.
Then match the level and decide
Raise MAKE UP until the mix is as loud with the compressor on as with it off. Then switch between the two.
Ask one question: with the levels matched, does the mix hold together better? If you cannot tell, reduce the amount or take the compressor off. On Camber LE the power rocker is a click-free bypass that keeps the same delay, so the comparison does not shift the mix in time.
When this recipe is the wrong tool
- You want loudness. That is a limiter's job, at the end of the chain.
- One track is too dynamic. Compress that track. A bus compressor reacts to the sum and will pull everything down with it.
- You need parallel compression, per-channel or mid-side detection, or continuous timing. Camber LE does not have them. It has one fixed voicing, stepped dials and linked stereo only. That is the trade for a small panel.
What the full version adds
Camber LE runs the same compressor core as the full Camber. At matching settings (reference voicing, linked stereo) the two produce the same output sample for sample; that was checked on the Windows VST3 build in stereo at 44.1, 48 and 96 kHz, and not on mono buses or macOS.
The full Camber adds five selectable voicings, continuous attack, release and sidechain filter, more ratios including negative ones, MIX for parallel compression, DRIVE and COLOUR saturation, a three-band dynamic EQ, a transient expander, a four-band sidechain EQ, look-ahead, and Dual Mono and Mid-Side modes. Camber LE reports a constant 8 samples of latency; the full Camber reports 8 samples plus any look-ahead you choose.